How to Perfectly Blend Color When Working with Hand-Dyed Yarn
Share
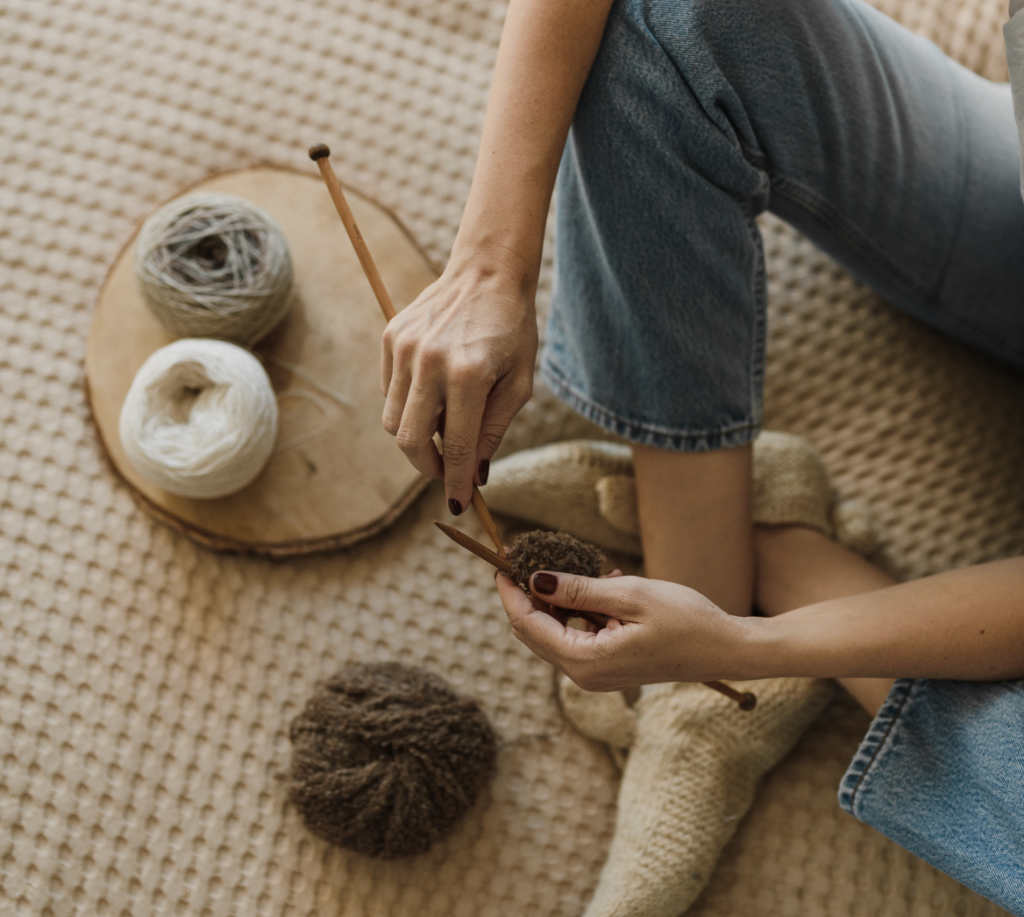
Each skein of hand-dyed yarn varies a bit in its color pattern. This is what gives the yarn its uniqueness and what makes your final project a one-of-a-kind work of art.
It is also what can result in obvious, and often unattractive, color variances in your finished project. For instance, if you work through one skein before changing to next in your project it is pretty likely the point where you made the change will be easy to see. If you are making a one skein project, your colors can make unintended patterns sometimes resembling a barber pole, called pooling. To be honest, you can sometimes get a pretty cool effect from pooling, but it can also be frustrating if you didn’t intend or don’t like the result.
No worries, though, because it is pretty simple to avoid this. Simply alternate between skeins for each row of your project carrying the yarn up to the next row. Another way to blend yarn is to hold two strands of yarn together throughout the project, but this method requires you meticulously pay attention to your gauge. [hint: use a finer yarn than the pattern calls for when working two strands together, all will be well as long as your gauge is correct. And the blending will be spectacular!]
If making a single skein project you can blend your colors by working from both ends of the skein simultaneously being sure to alternate ends with each row. I like to cake my yarn and work one row from the middle and the next from the outside.
Well, there you have it. Some simple methods for perfectly blended color.
Until next time…Happy Yarnin’
XO
Linda
Shop our yarns!
Check out some of our other topics: yarn draft, fibers, gauge, needles, twist, ply and weight
Why avocado?
Breaking down your yarn needs
Our origin story
My yarn journey